
Authenticate to Sherlock AI with API keys on CloudFerro Cloud
Sherlock AI uses API keys to authenticate programmatic requests to AI models. You create API keys inside a Sherlock AI project in the control panel and then use them from your application, automation script, or backend service.
Treat every API key as a secret. Do not share it with other users, commit it to a repository, paste it into documentation, or expose it in client-side code such as browsers and mobile applications. Production requests should go through your own backend, where the key can be loaded from an environment variable or a secrets management service.
Prerequisites
Before you start, make sure that:
You can log in to the Sherlock AI control panel.
You have access to the project where the API key will be created.
Your account has permissions to manage API keys in that project.
You know where the key will be stored after creation, because Sherlock AI shows the generated key only once.
Step 1: Open API Keys
Log in to the Sherlock AI control panel and open the project in which you want to create the key. In the left navigation menu, select API Keys.
The API keys page lists the keys already created in the current project. Use this page to check existing keys, create a new one, and manage project-level authentication for programmatic access.
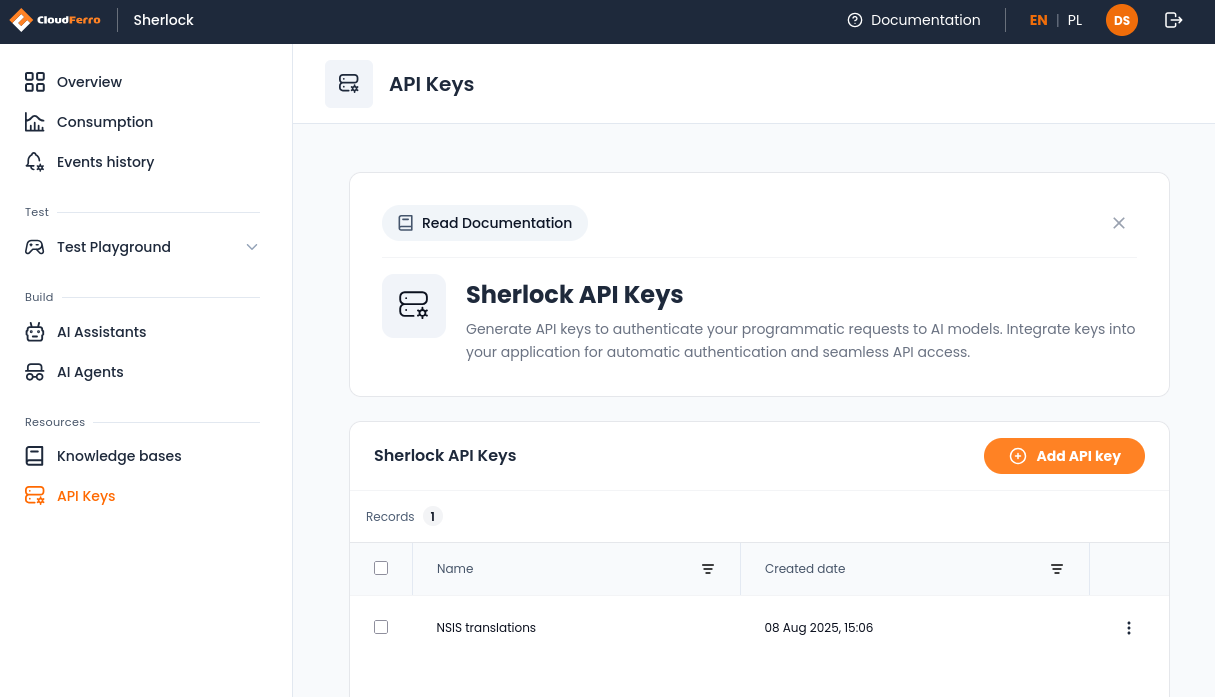
Fig. 96 API Keys page in the Sherlock AI control panel.
Step 2: Start creating a new key
Click Add API key to open the key creation window. Enter a clear name for the key, for example the name of the application, service, environment, or automation workflow that will use it.
A descriptive name is important later, especially when several keys exist in the same project. It helps you recognize which application uses which key and makes key rotation safer.
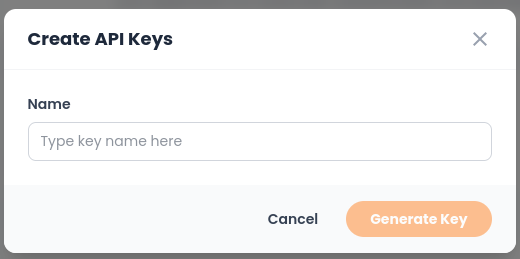
Fig. 97 Window for entering the API key name before generation.
Step 3: Generate and copy the key
After entering the name, generate the key. Sherlock AI displays the new API key immediately after creation.
Copy the key at this stage and store it in a secure location. This is the only time the full key is shown. If you close the window before saving it, you will need to create another key.
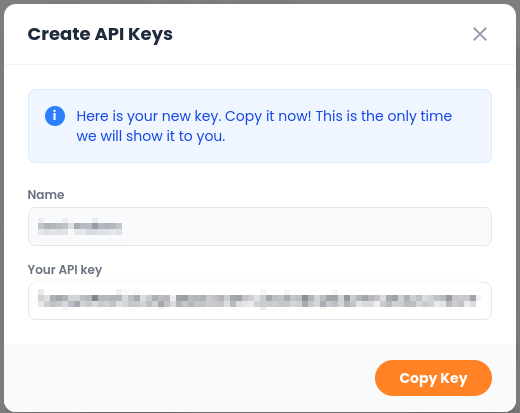
Fig. 98 Newly generated API key. Copy it before closing the window.
Step 4: Verify that the key was created
After copying the key, return to the API keys page and verify that the new entry is visible in the list. The list shows the key name and creation date, which helps you identify recently created keys and distinguish them from older credentials.
Keep only the keys that are still needed. When a key is no longer used, replace it in your application first, verify that the new key works, and then remove the old one from the project.
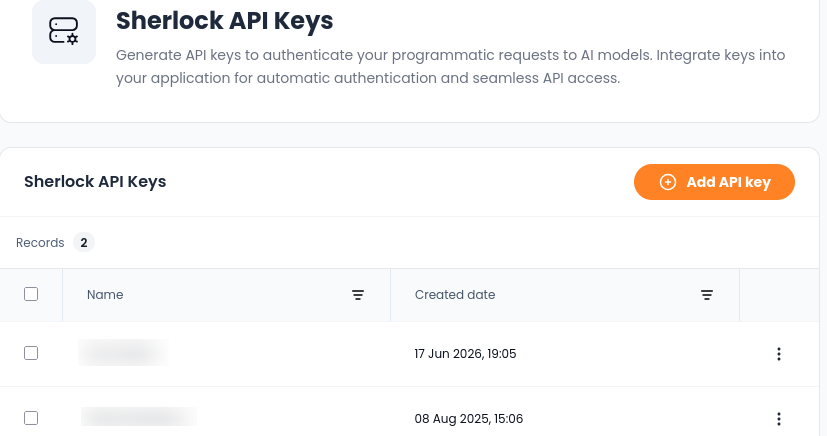
Fig. 99 API keys list after a new key has been created.
Using the API key securely
Store the API key outside your source code. For local development, use an environment variable or a local secrets file that is excluded from version control. For production deployments, use the secret storage mechanism provided by your platform, CI/CD system, or infrastructure environment.
Do not call Sherlock AI directly from frontend code. A browser or mobile application cannot keep an API key secret, because users can inspect network traffic or application bundles. Route production requests through a backend service that authenticates the user, loads the API key securely, and sends the request to Sherlock AI.
Rotate API keys when access changes, when a key may have been exposed, or when an application is moved from testing to production. Use separate keys for separate applications or environments whenever possible, so that one leaked or retired key does not affect unrelated workloads.
Use the API key in a request
After creating and copying the API key, store it in an environment variable instead of writing it directly into your command or source code.
On Linux or macOS, use:
export SHERLOCK_API_KEY="paste-your-api-key-here"
curl
The following curl example sends a chat completion request to the Sherlock AI API:
curl https://api-sherlock.cloudferro.com/openai/v1/chat/completions \
  -H "Authorization: Bearer $SHERLOCK_API_KEY" \
  -H "Content-Type: application/json" \
  -d '{
    "model": "speakleash/Bielik-11B-v3.0-Instruct",
    "messages": [
      {
        "role": "system",
        "content": "You are a helpful assistant."
      },
      {
        "role": "user",
        "content": "Explain what Sherlock AI is in one paragraph."
      }
    ]
  }'
Python
For Python, install the OpenAI client library first:
pip install openai
Then use the API key from the environment variable and set the Sherlock AI base URL:
import os
from openai import OpenAI

client = OpenAI(
    api_key=os.environ["SHERLOCK_API_KEY"],
    base_url="https://api-sherlock.cloudferro.com/openai/v1",
)

response = client.chat.completions.create(
    model="speakleash/Bielik-11B-v3.0-Instruct",
    messages=[
        {
            "role": "system",
            "content": "You are a helpful assistant.",
        },
        {
            "role": "user",
            "content": "Explain what Sherlock AI is in one paragraph.",
        },
    ],
)

print(response.choices[0].message.content)
If the request fails, check that the environment variable contains the correct key, that the key belongs to the project you want to use, and that the selected model is available for that project.