
Product catalogue on CloudFerro Cloud
The product catalogue includes tools for cloud computing, messaging, containers, and machine learning. Use the descriptions below to choose a service. Select a product-card image or its live-interface link to open that product; the documentation link opens its guide. The interface screenshots show example resources and regions.
Prerequisites
No. 1 A signed-in portal session
Sign in to My Portal.
Find a product
Open Products in the left-hand menu.
Enter the product name in Search product, or browse the displayed entries. The page also provides category tabs such as Compute, Storage, and Network.
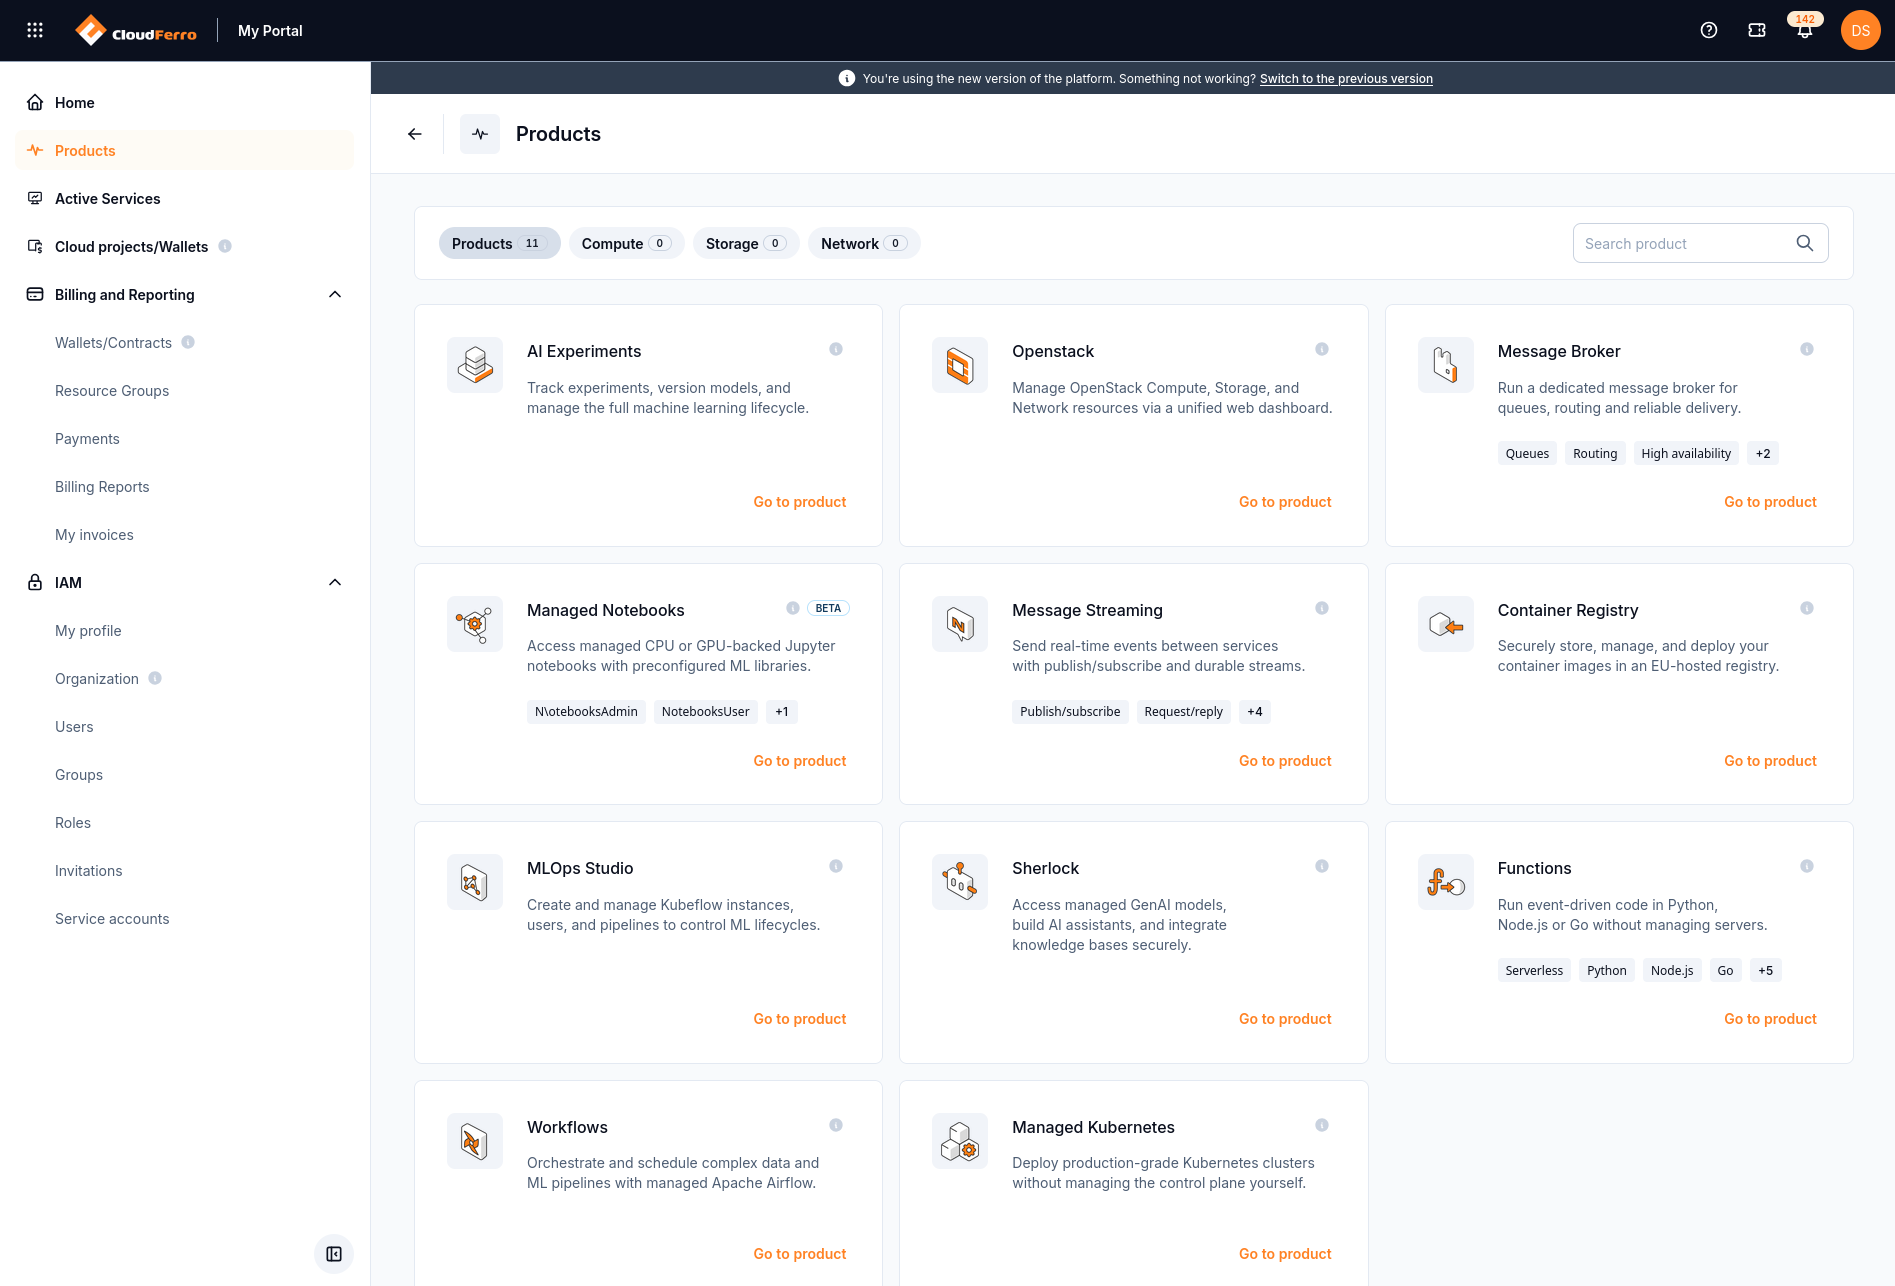
The catalogue provides a separate Go to product action for each service.
Select Go to product on the required entry.
Check the organization and any selected region in the interface that opens.
AI Experiments
Track experiments, version models, and manage the machine learning lifecycle.
The AI Experiments entry in Products.
My Experiments lists experiment instances and their status. For a running instance, MLflow UI opens its tracking interface. The page also offers Create New Instance.
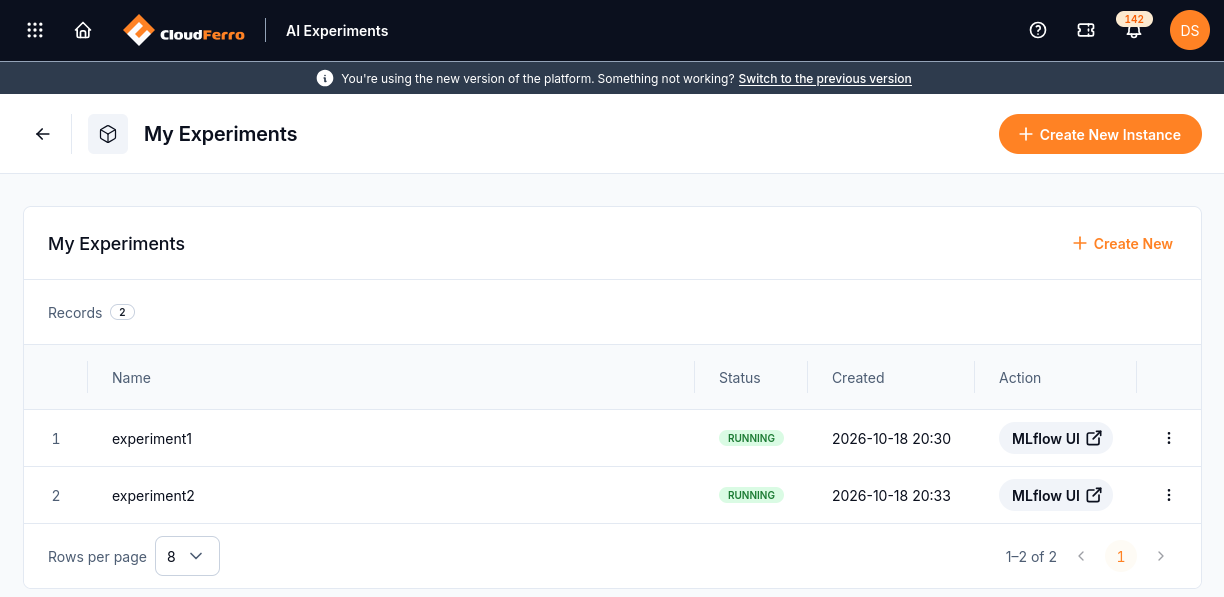
Open an existing experiment instance from its MLflow UI button.
Open AI Experiments. Read the AI Experiments guide.
Openstack
Manage OpenStack compute, storage, and networking through a web dashboard.
The Openstack entry in Products.
The OpenStack entry opens a sign-in screen with Authenticate using and Region selectors. Check that the authentication choice and region match your project, then select Sign In. If you do not know the required region, check Cloud projects/Wallets: manage project billing on CloudFerro Cloud or ask your administrator.
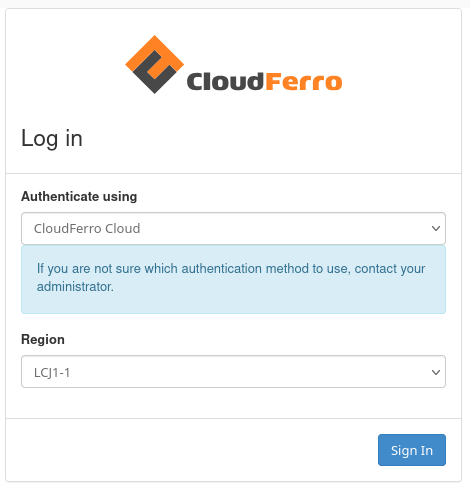
Choose the authentication method and region before signing in to OpenStack.
Open Openstack. Follow project activation and wallet setup before creating cloud resources.
Message Broker
Use a dedicated message broker for queues, routing, and reliable delivery.
The Message Broker entry in Products.
The Message Broker interface shows the selected region, organization quota usage, and existing brokers. Identify an existing broker by its name and status. Create broker starts a separate creation workflow.
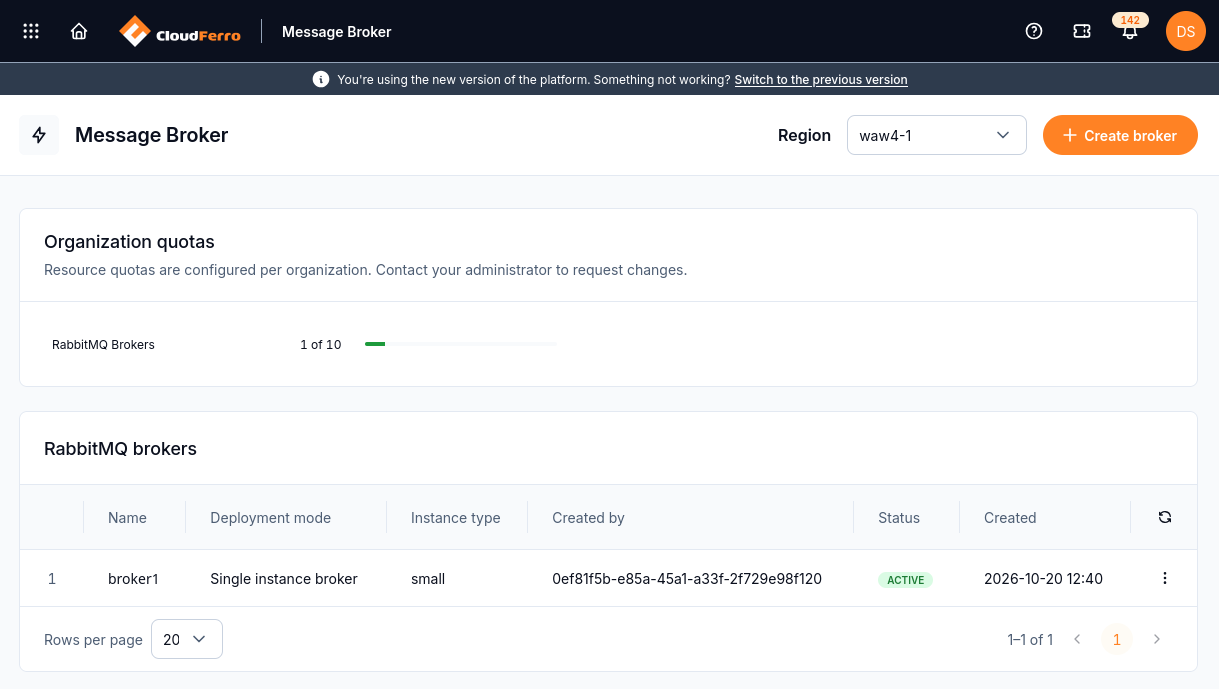
The broker list shows the resources in the selected product context.
Open Message Broker. Read the Message Broker guide.
Managed Notebooks
Work in managed CPU- or GPU-backed Jupyter notebooks with preconfigured machine learning libraries.
The Managed Notebooks entry in Products.
The Managed Notebooks interface lists your notebooks. The empty example shows No Notebooks and a Create Notebook button for starting the creation form.
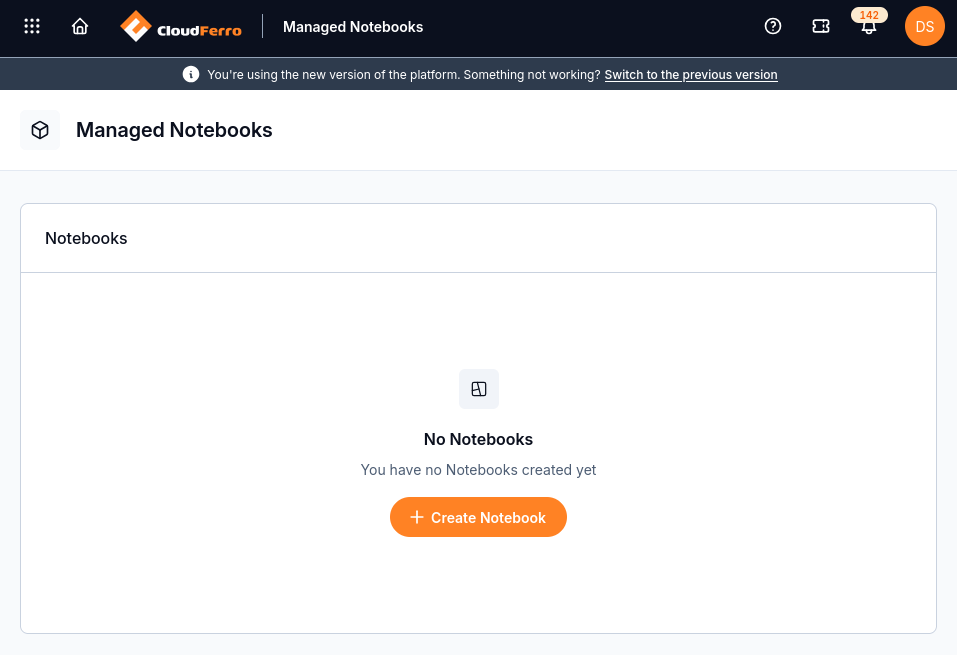
The notebook list is the starting point for creating and opening notebooks.
Open Managed Notebooks. Read the Managed Notebooks guide.
Message Streaming
Send real-time events between services with publish/subscribe messaging and durable streams.
The Message Streaming entry in Products.
The Message Streaming interface shows the selected Region, organization quotas for NATS accounts and credentials, and the NATS Accounts list. In the empty example, Create NATS Account starts the account-creation form.
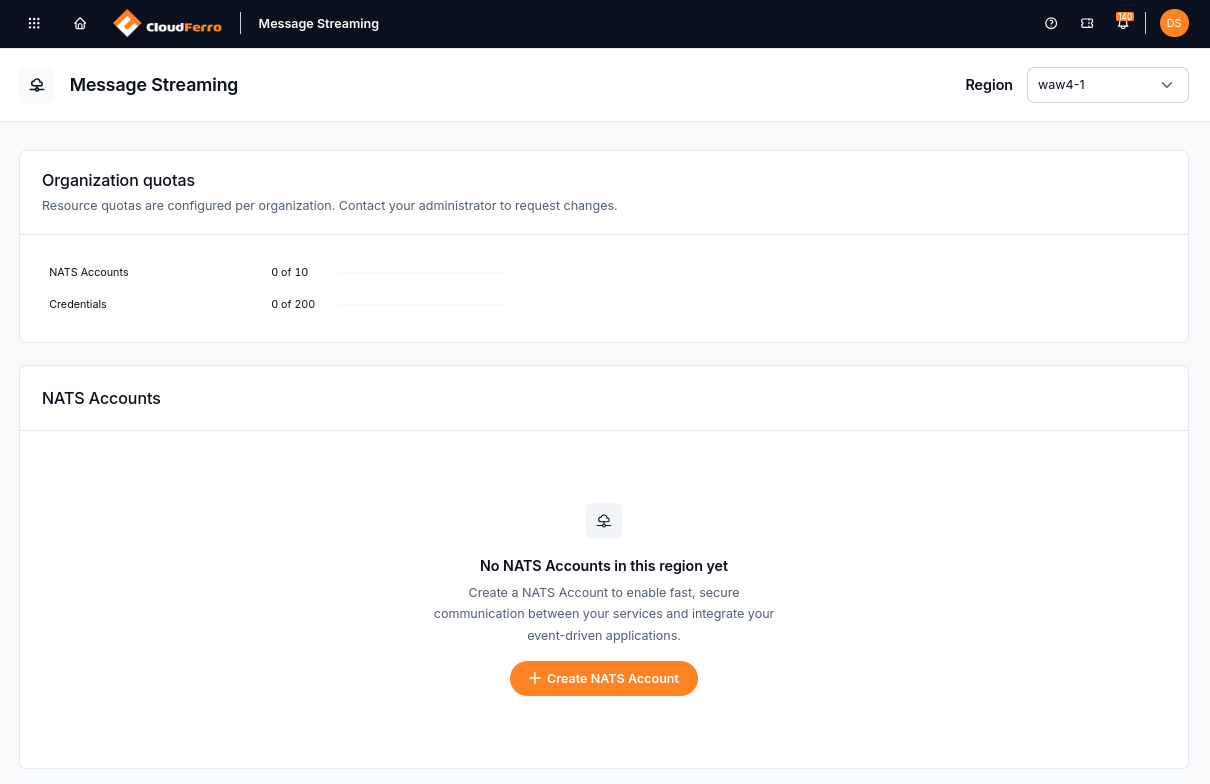
Check the region before creating or opening a NATS account.
Open Message Streaming. Read the Message Streaming guide.
Container Registry
Store, manage, and deploy container images in an EU-hosted registry.
The Container Registry entry in Products.
The Projects page shows registry projects in the selected Region. The empty example displays No Projects. Create project starts the form for a new registry project.
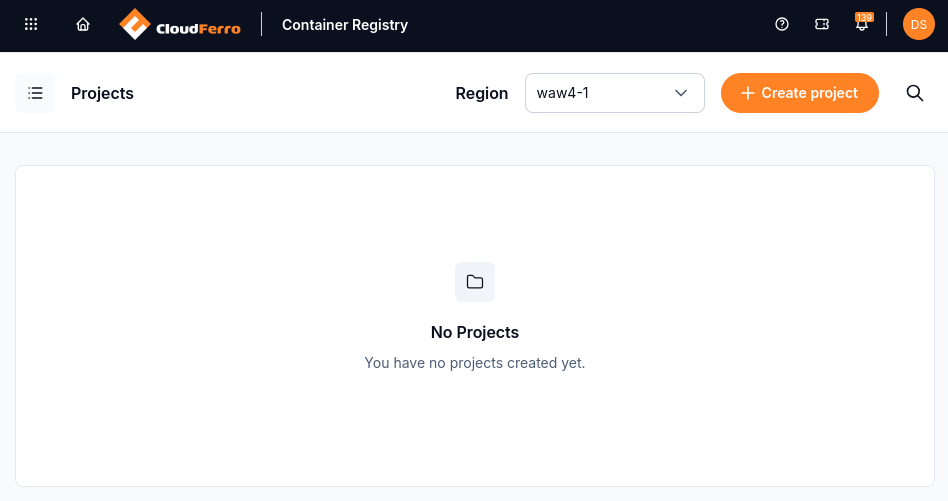
The Projects page is the entry point for registry storage and project management.
Open Container Registry. Read the Container Registry guide.
MLOps Studio
Create and manage Kubeflow instances, users, and pipelines for machine learning workflows.
The MLOps Studio entry in Products.
The MLOps Studio interface lists your instances. Before the first instance is created, it displays No instances yet. Use Create New Instance to open the configuration form.
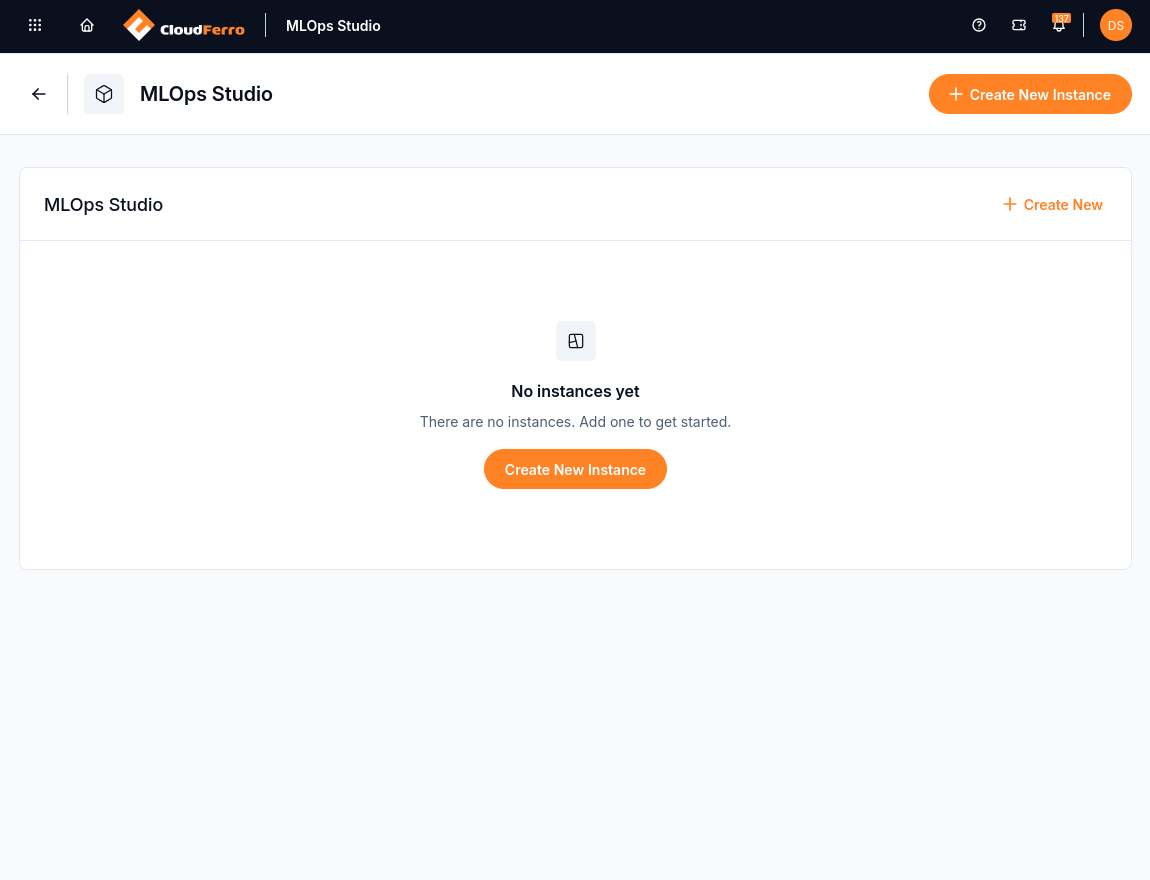
Create or select an instance before opening its Kubeflow tools.
Open MLOps Studio. Read the MLOps Studio guide.
Sherlock
Access managed generative AI models, build AI assistants, and integrate knowledge bases.
The Sherlock entry in Products.
The Sherlock console provides Projects, Overview, Consumption, and Events history in its left-hand menu. The example shows Overview → Discover Sherlock, with first-step guidance. Use the Project selector to choose a project, then open the required playground or build tool.
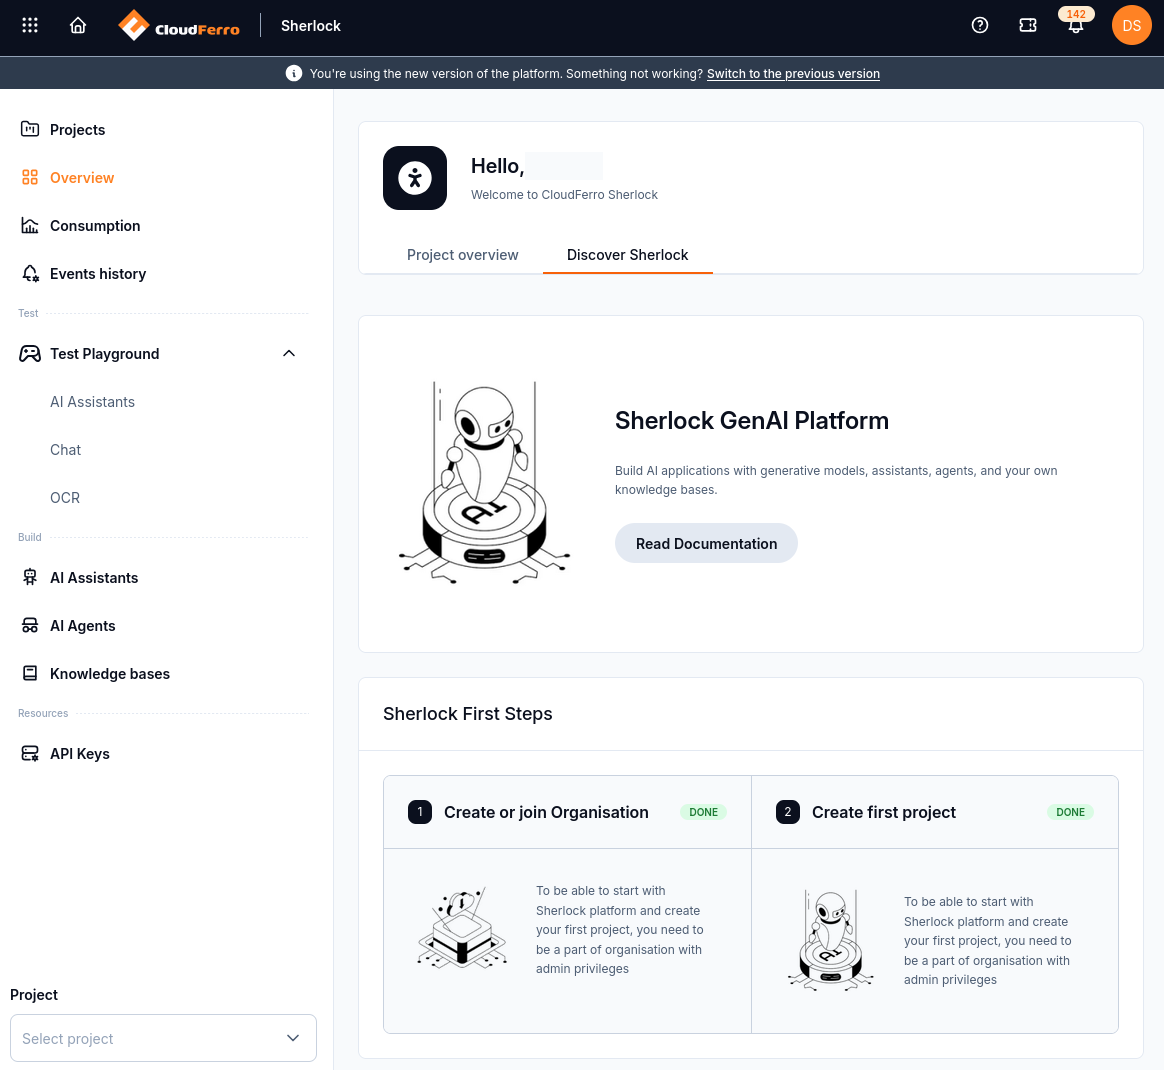
Discover Sherlock introduces the service before you work with a project.
Open Sherlock. Read the Sherlock guide.
Functions
Run event-driven Python, Node.js, or Go code without managing servers.
The Functions entry in Products.
The Functions interface shows the selected Region, the organization quota, and the Namespaces list. The empty example displays No Namespaces yet. Create Namespace starts the setup of a namespace that groups functions and their resources.
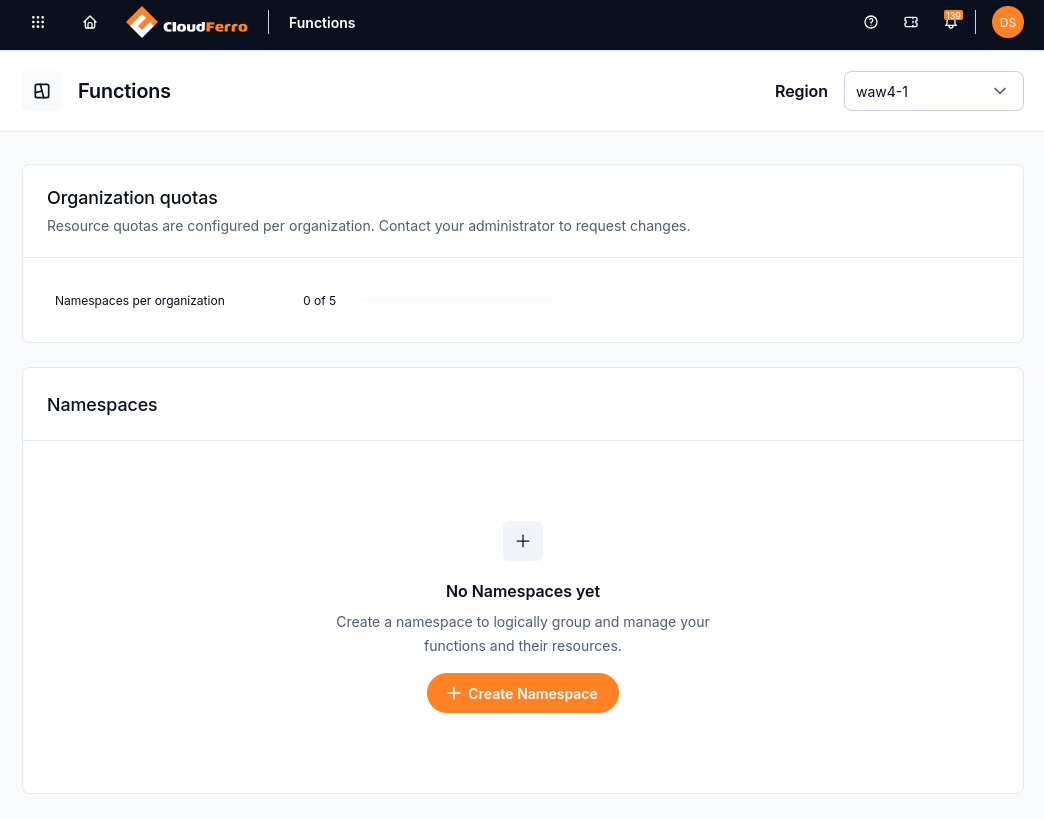
Choose or create a namespace before working with individual functions.
Open Functions. Read the Functions guide.
Workflows
Orchestrate and schedule data and machine learning pipelines with managed Apache Airflow.
The Workflows entry in Products.
My Workflows lists the instances available to your account. The empty example displays No instances yet and Create New Instance. Use that button to open the instance-configuration form.
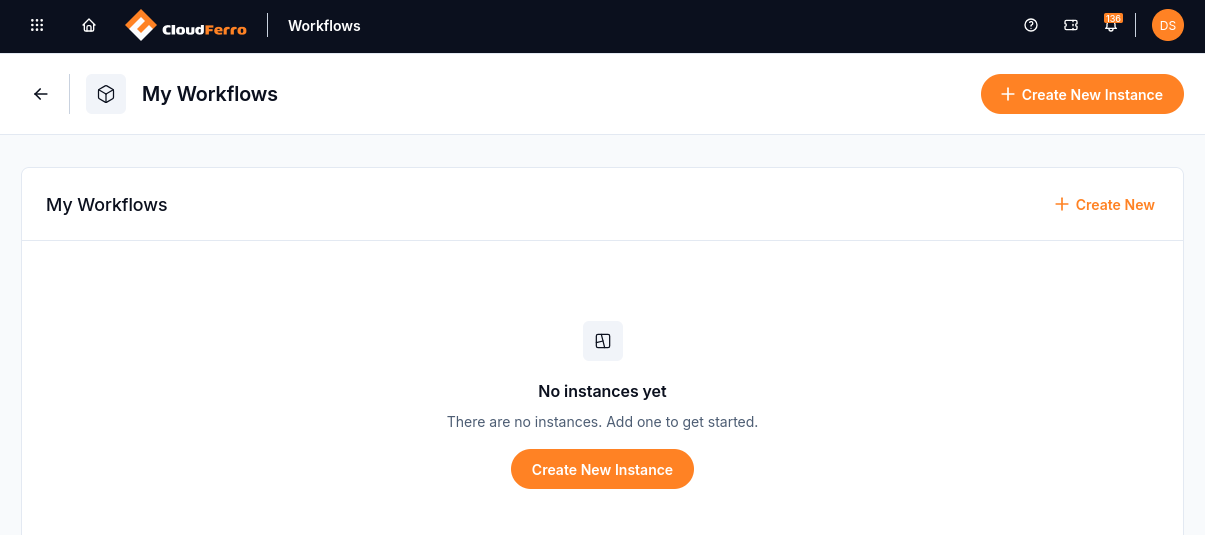
The Workflows entry opens the instance list before the separate workflow interface.
Open Workflows. Read the Workflows guide.
Managed Kubernetes
Deploy Kubernetes clusters without managing the control plane yourself.
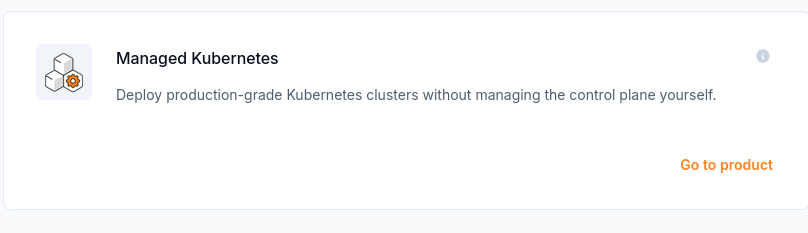
The Managed Kubernetes entry in Products.
If Select region appears, choose the required Region and select Choose. The launcher then shows the resources in that region.
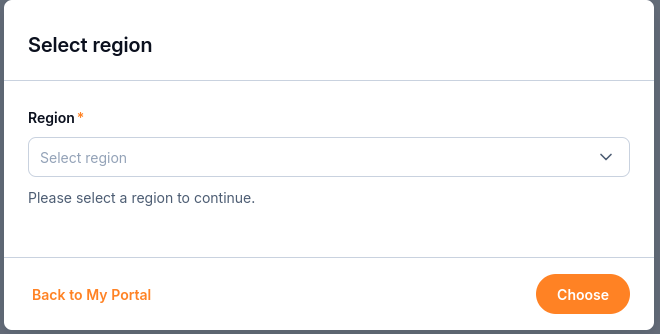
Select a region before opening its Managed Kubernetes resources.
The Managed Kubernetes page shows the Region selector, Clusters, and Tokens. Check cluster names, Kubernetes versions, and statuses in the list. Create cluster and Create token start their respective setup forms.
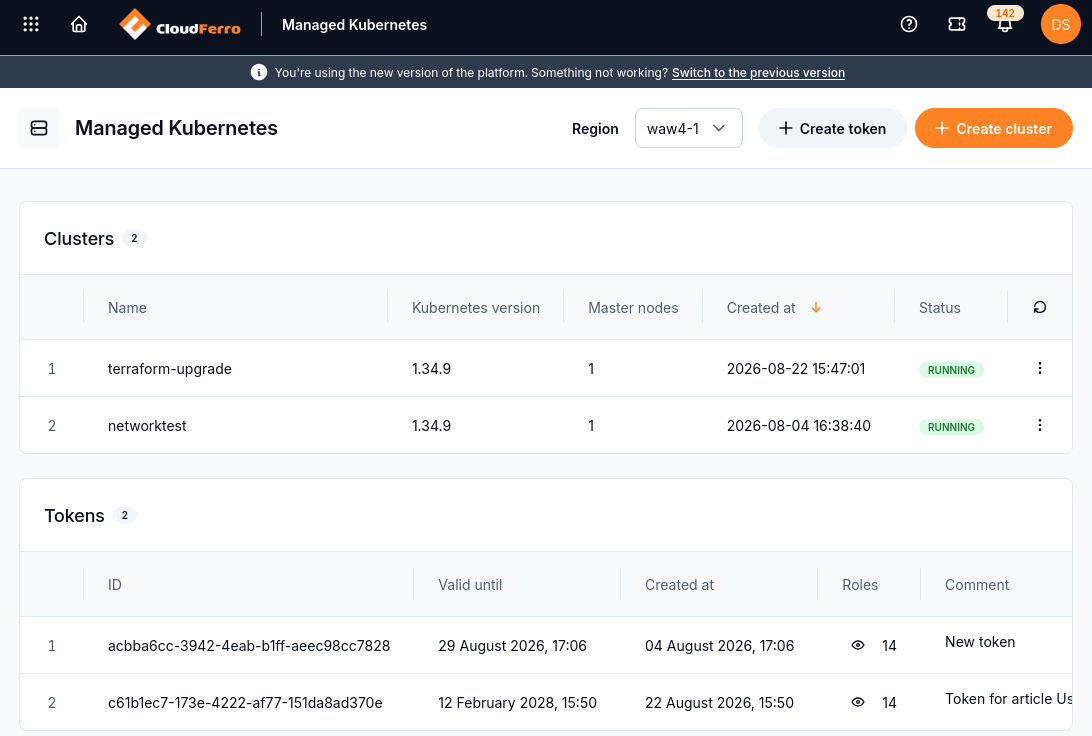
The launcher groups cluster and token management for the selected region.
Open Managed Kubernetes. Read the Managed Kubernetes guide.