How to add subcontact in User Area on CloudFerro Cloud
First, you have to be logged into CREODIAS.
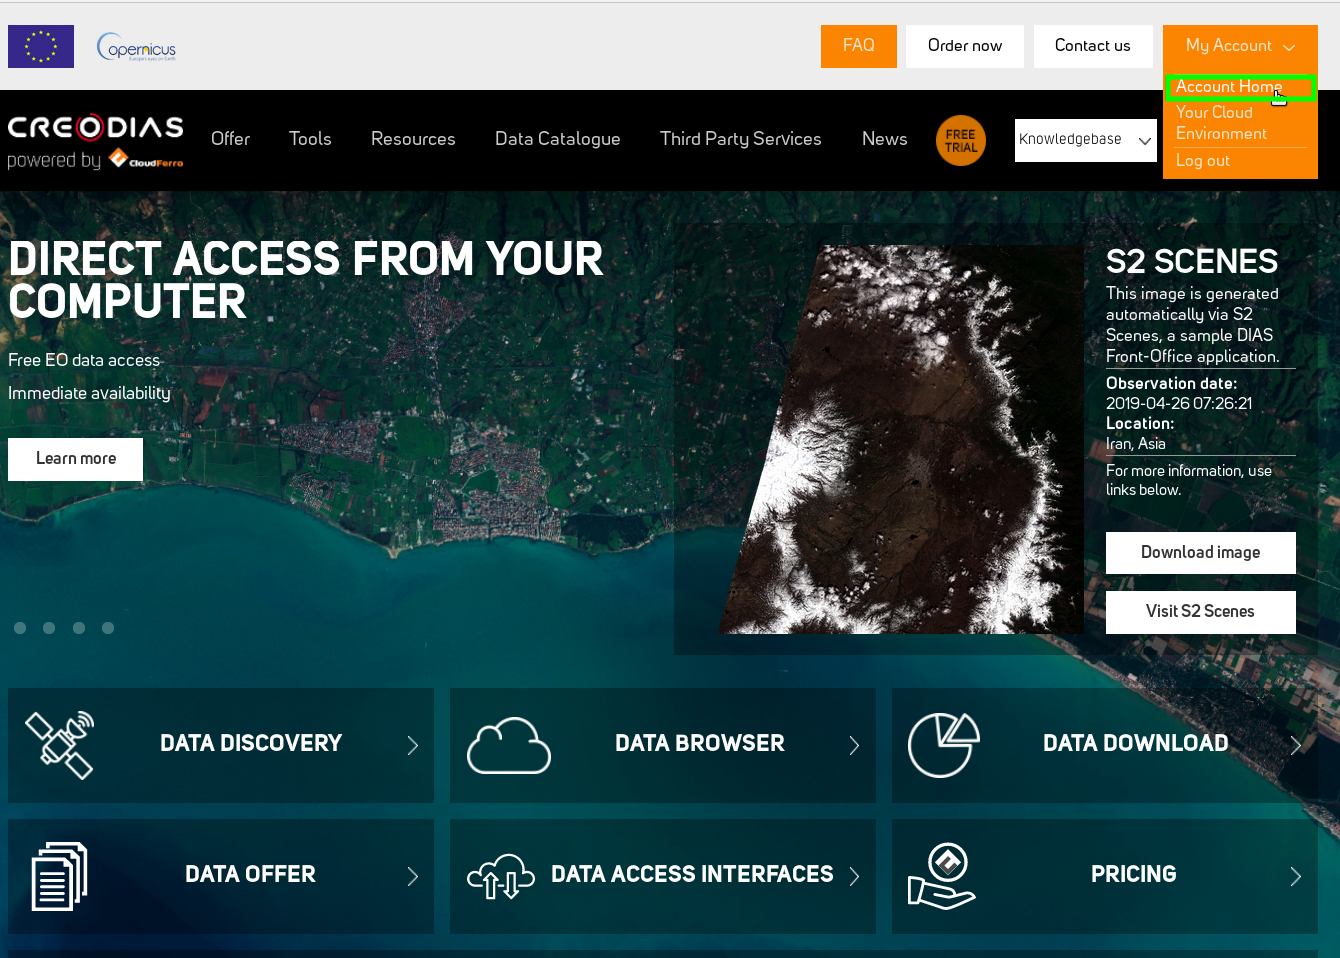
Select Account Home in the dropdown “My Account” menu.
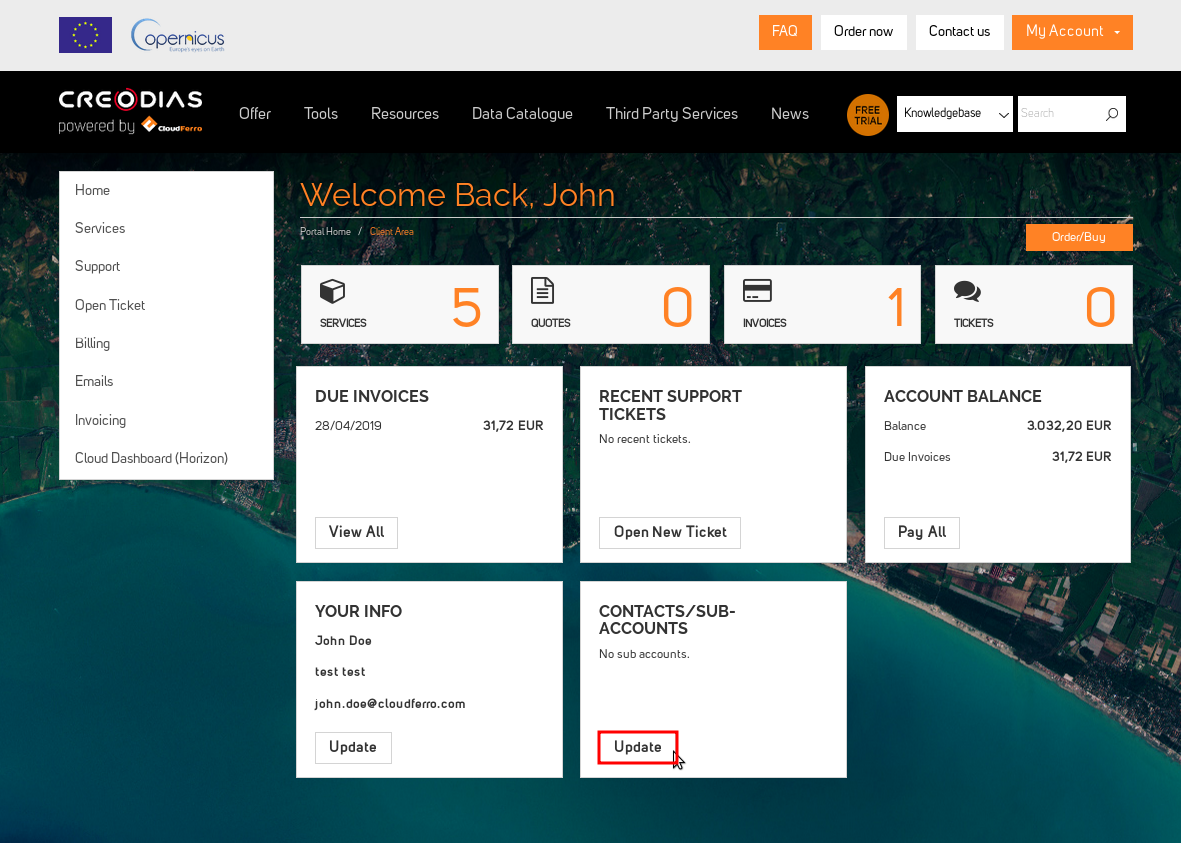
You will be redirected into your Client Area. The next step is clicking “Update” in Contacts/Sub-accounts pane.
You will see “Contacts/Sub-accounts” menu, with the form in which you will be asked for new contact personal data, such as name and adress, and the email address that will be used for logging in.
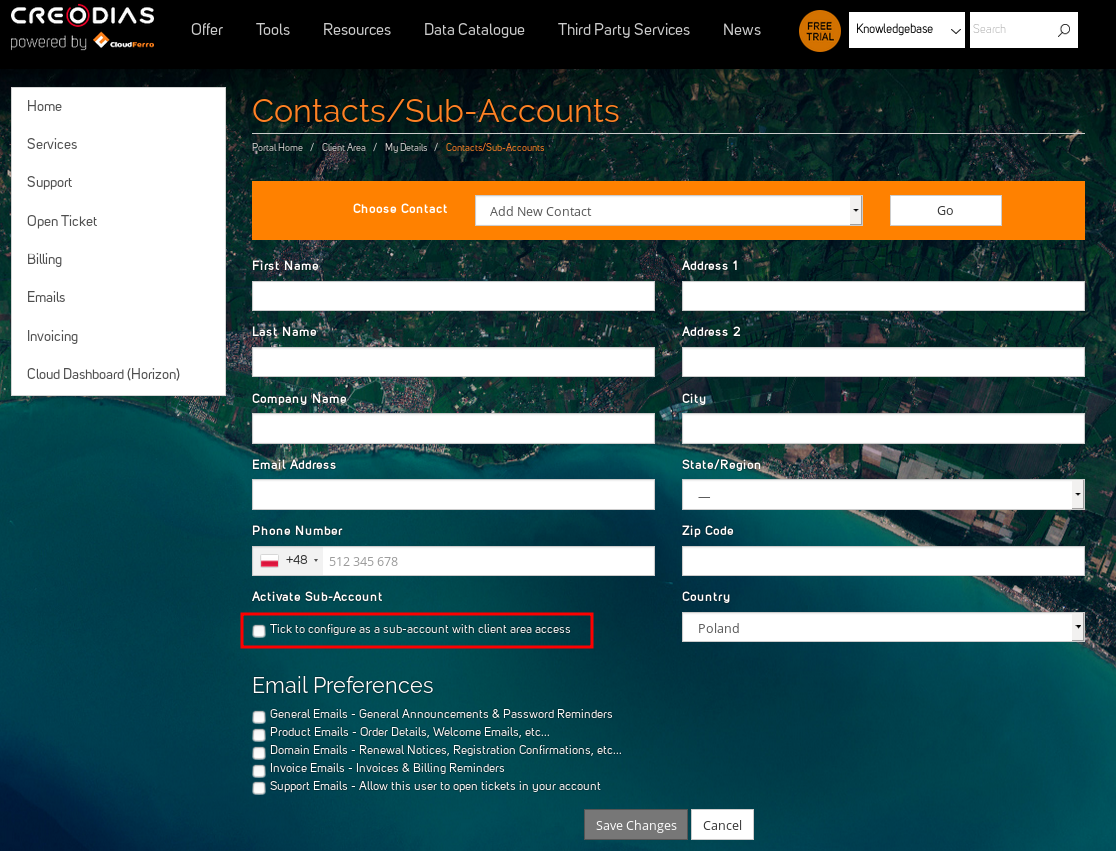
After ticking a box “Tick to configure as a sub-account with client area access” you will be asked for granting privileges to your contact:
While setting up permissions is completed, you will be asked for creating and confirmation of the new password.
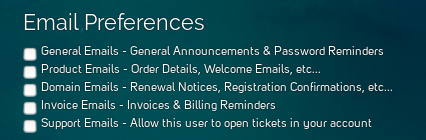
The last part of sub-account creation is “E-mail preferences” menu. Here you can choose, what kind of mails from our platform your contact will receive.
After successful configuration, please confirm your choice by clicking Save Changes.
You can also add another sub-account or edit existing by selecting “Add new contact” or existing contact entry from “Choose Contact” orange bar.